

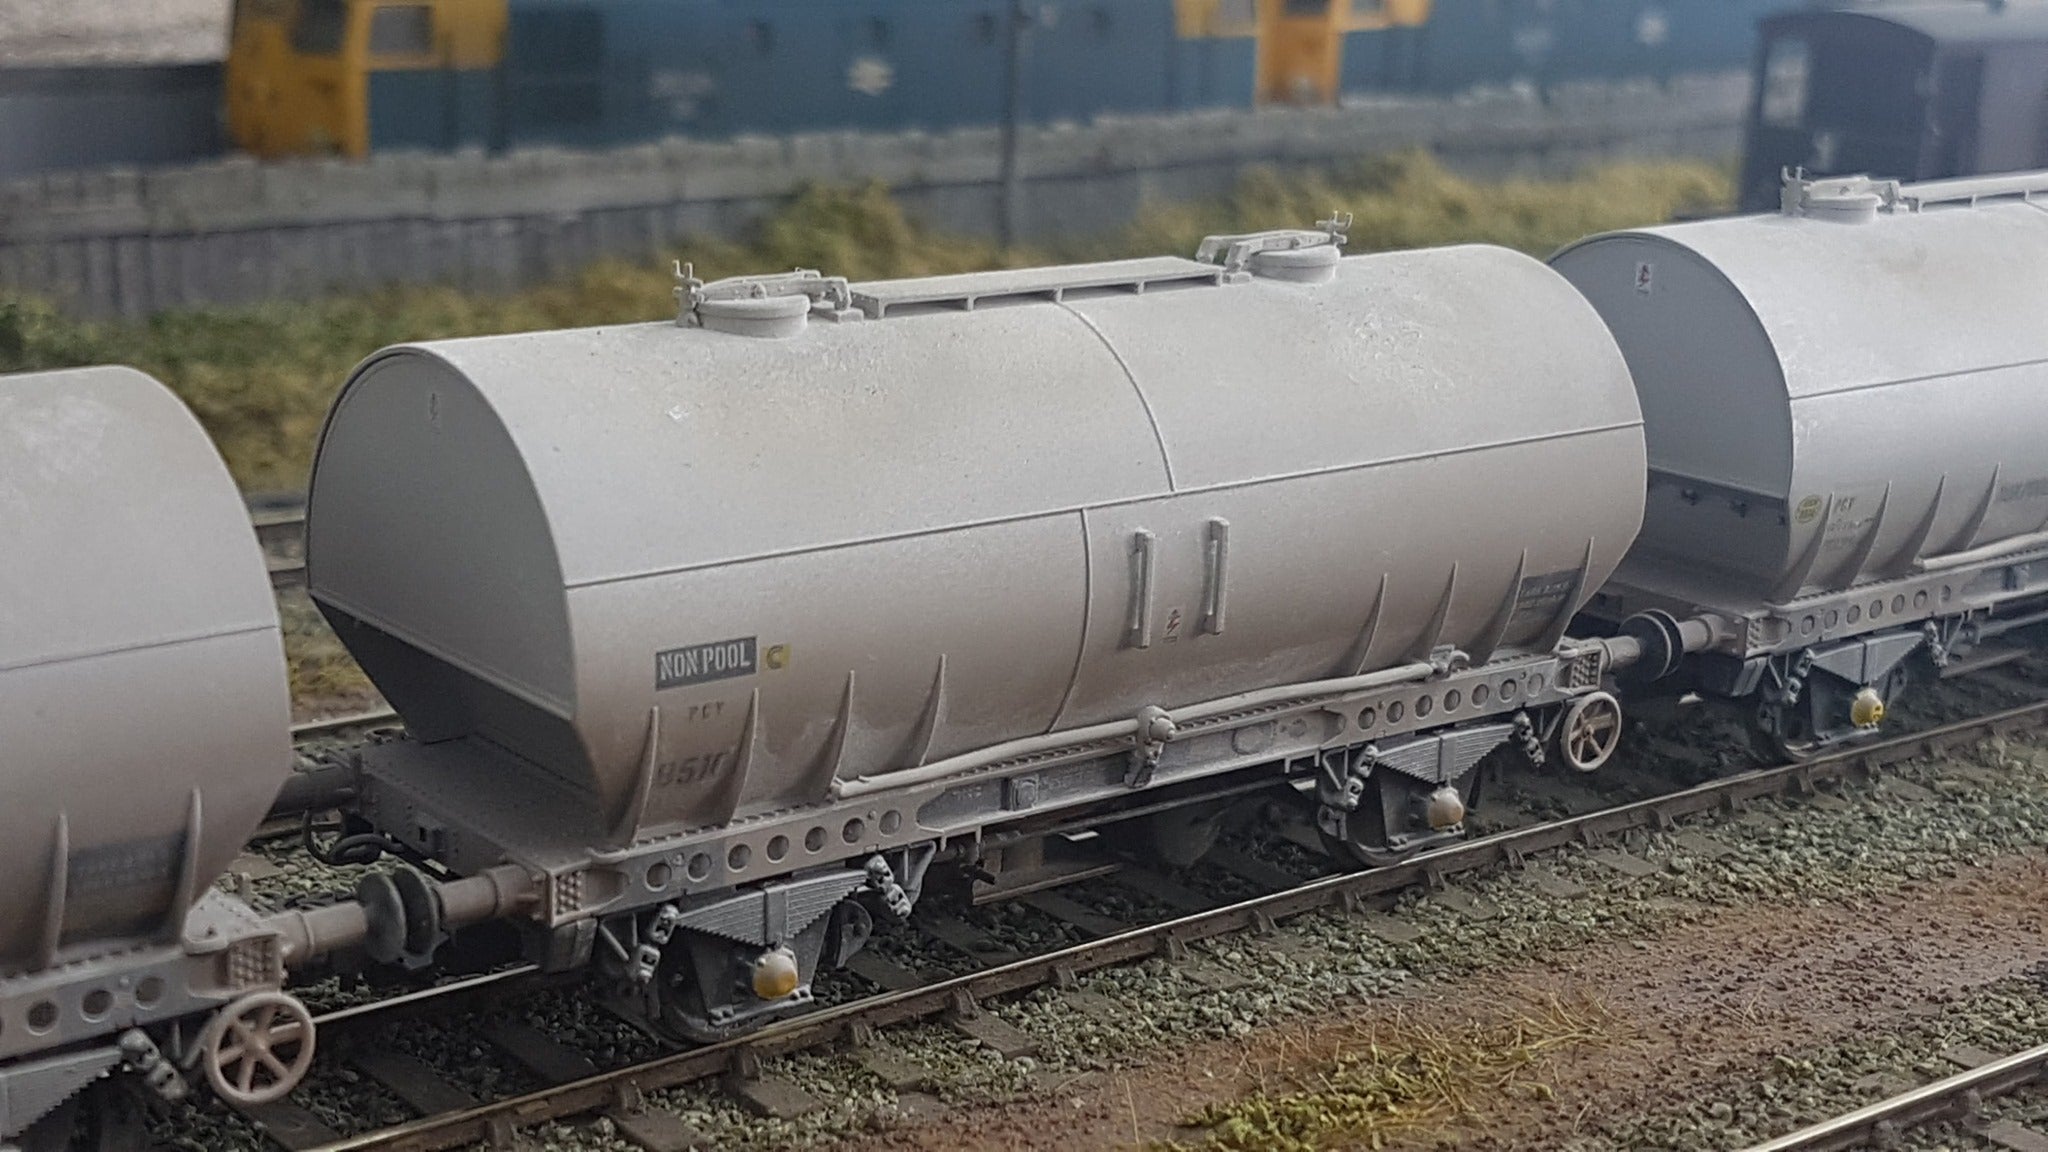
Our cemflo/PCV wagons have proven very popular indeed, finally offering top class model of these iconic wagons after many years. During the TOPS era the PCVs could be found all over Britain, including Scotland! The SDEG gang have found them particularly useful in TOPS guise for his reason, and member Simon Barratt has provided us with a weathering tutorial for the rake used on the famous Hazelbank layout.
So, let's hand you over to Simon for a step-by-step guide to weathering some silver queens!

My over riding message would be don’t be afraid and don’t be precious. If you want your cement train to look real it will need to be dusty and crusty.

In preparation do a bit of homework. I delved into the Rail Express PCV article on the then new Accurascale wagon and also on Paul Bartlett’s excellent reference source on web.

Then get yourself ready. Thoroughly clean your airbrush, a full strip is a normal here before a big weathering session. Clean up the working area of all other projects (it will get messy!) and the spray booth.

You will need some baby talc, a high sided tray, blutak, frame dirt paint, three shades of cement grey.

In this case I used Railfreight grey (which has a brown tinge) then Phoenix new concrete then Phoenix weathered concrete in that order, which does seem counter intuitive but the greys get progressively paler as the layers build and he cement dust gets newer. I only ever use enamel paint being a dinosaur.
First job is the underframe. I remove wheel sets and paint the outer wheel faces with frame dirt as per Pelle Søeberg’s essential tips.

Then in the bearing hole, on the wagon frame, stick a small blob of blu-tak (used Blacktak here) to stop any weathering paint getting anywhere near the rotating surfaces. The wagons will be weathered “wheels out”.

The wagons then proceed through the spray booth and get a generous coating of frame dirt underneath the wagon and along sole bars, I try and work frame dirt ‘up the way’ as this is the direction the dirt hits the wagon from.

Aim upwards with the frame dirt and downwards with the cement colours. We are modelling late 70s early 80s and even if you cannot see much under wagons it's obvious that there is decades of muck on the underframe. Leave them to dry for a few minutes or employ a warm hairdryer to speed things up.
I then progress to the main event.
First layer used is the Railfreight grey concentrating around the hatch areas and along the top surface of the wagon, follow pictures of the real thing.

While paint is still wet/tacky dredge a generous amount of Baby Talc onto the wet area then tap it off over a catching tray.

Gently blow the remainder off into the tray. I use a large plastic tool drawer with 3 inch deep sides. Repeat the process with the the other wagons and again leave them to dry off a little. Not bone dry just enough that handling becomes easier.

The next paint layer is 'new concrete'. The same process applies but go a bit smaller with the area on top of wagon painted so you leave a little of the darker grey around the extremities. Again, dredge the talc onto the wet patches and blow gently off. I always blow the talc off in a vertically down the wagon direction as this would more likely reflect the direction of travel of the cement dust.
Once wagons have dried a little repeat again this time with 'weathered concrete' which is the whitest of the three shades. This time the area around the hatches is smaller still, so reflecting recent spills. In addition I give the whole wagon a light dusting with airbrush again in a downward direction, pointing airbrush from top of wagon towards the ground, so the pale grey whitish paint collects on the top of horizontal wagon surfaces (sole bars, suspension equipment) as fresh cement spills tend to. Immediately dust the wagon all over in talcum powder and blow the talc gently away (again in a vertically downwards direction in relation to the way the wagon sits)

Properly leave the wagons to dry off.
You will be amazed how much the talc sticks to the tacky paint and how repeated layers of paint and talc build up a realistic looking crust. Cement wagons have a tough life! When the whole lot is dry remove the blu-tak blobs and replace the wheel sets.

I don’t seal the final result as the talc gives a pleasingly dusty finish on the wagons that Dull-Coat or Matt varnish might dull down to much. If they start getting scrappy looking in time just freshen them up.

These are wonderful wagons and look even better with some realistic weathering. Don’t panic about it, if you make a mess remove it. I always have soft kitchen roll, cotton buds and pot of thinners handy. Often you’ll find that removing a mess up/air brush splat leaves you with rather pleasing result.
I hope that this has proved useful. Be brave!
Many thanks to Simon for providing us this great tutorial on weathering your PCVs! Our TOPS era PCVs are a perfect base for weathering and at home on bulk cement workings from Kent to Scotland and all in between from 1973 to 1989. We offer a single pack, triple packs and a bulk rake deal offering great savings!


