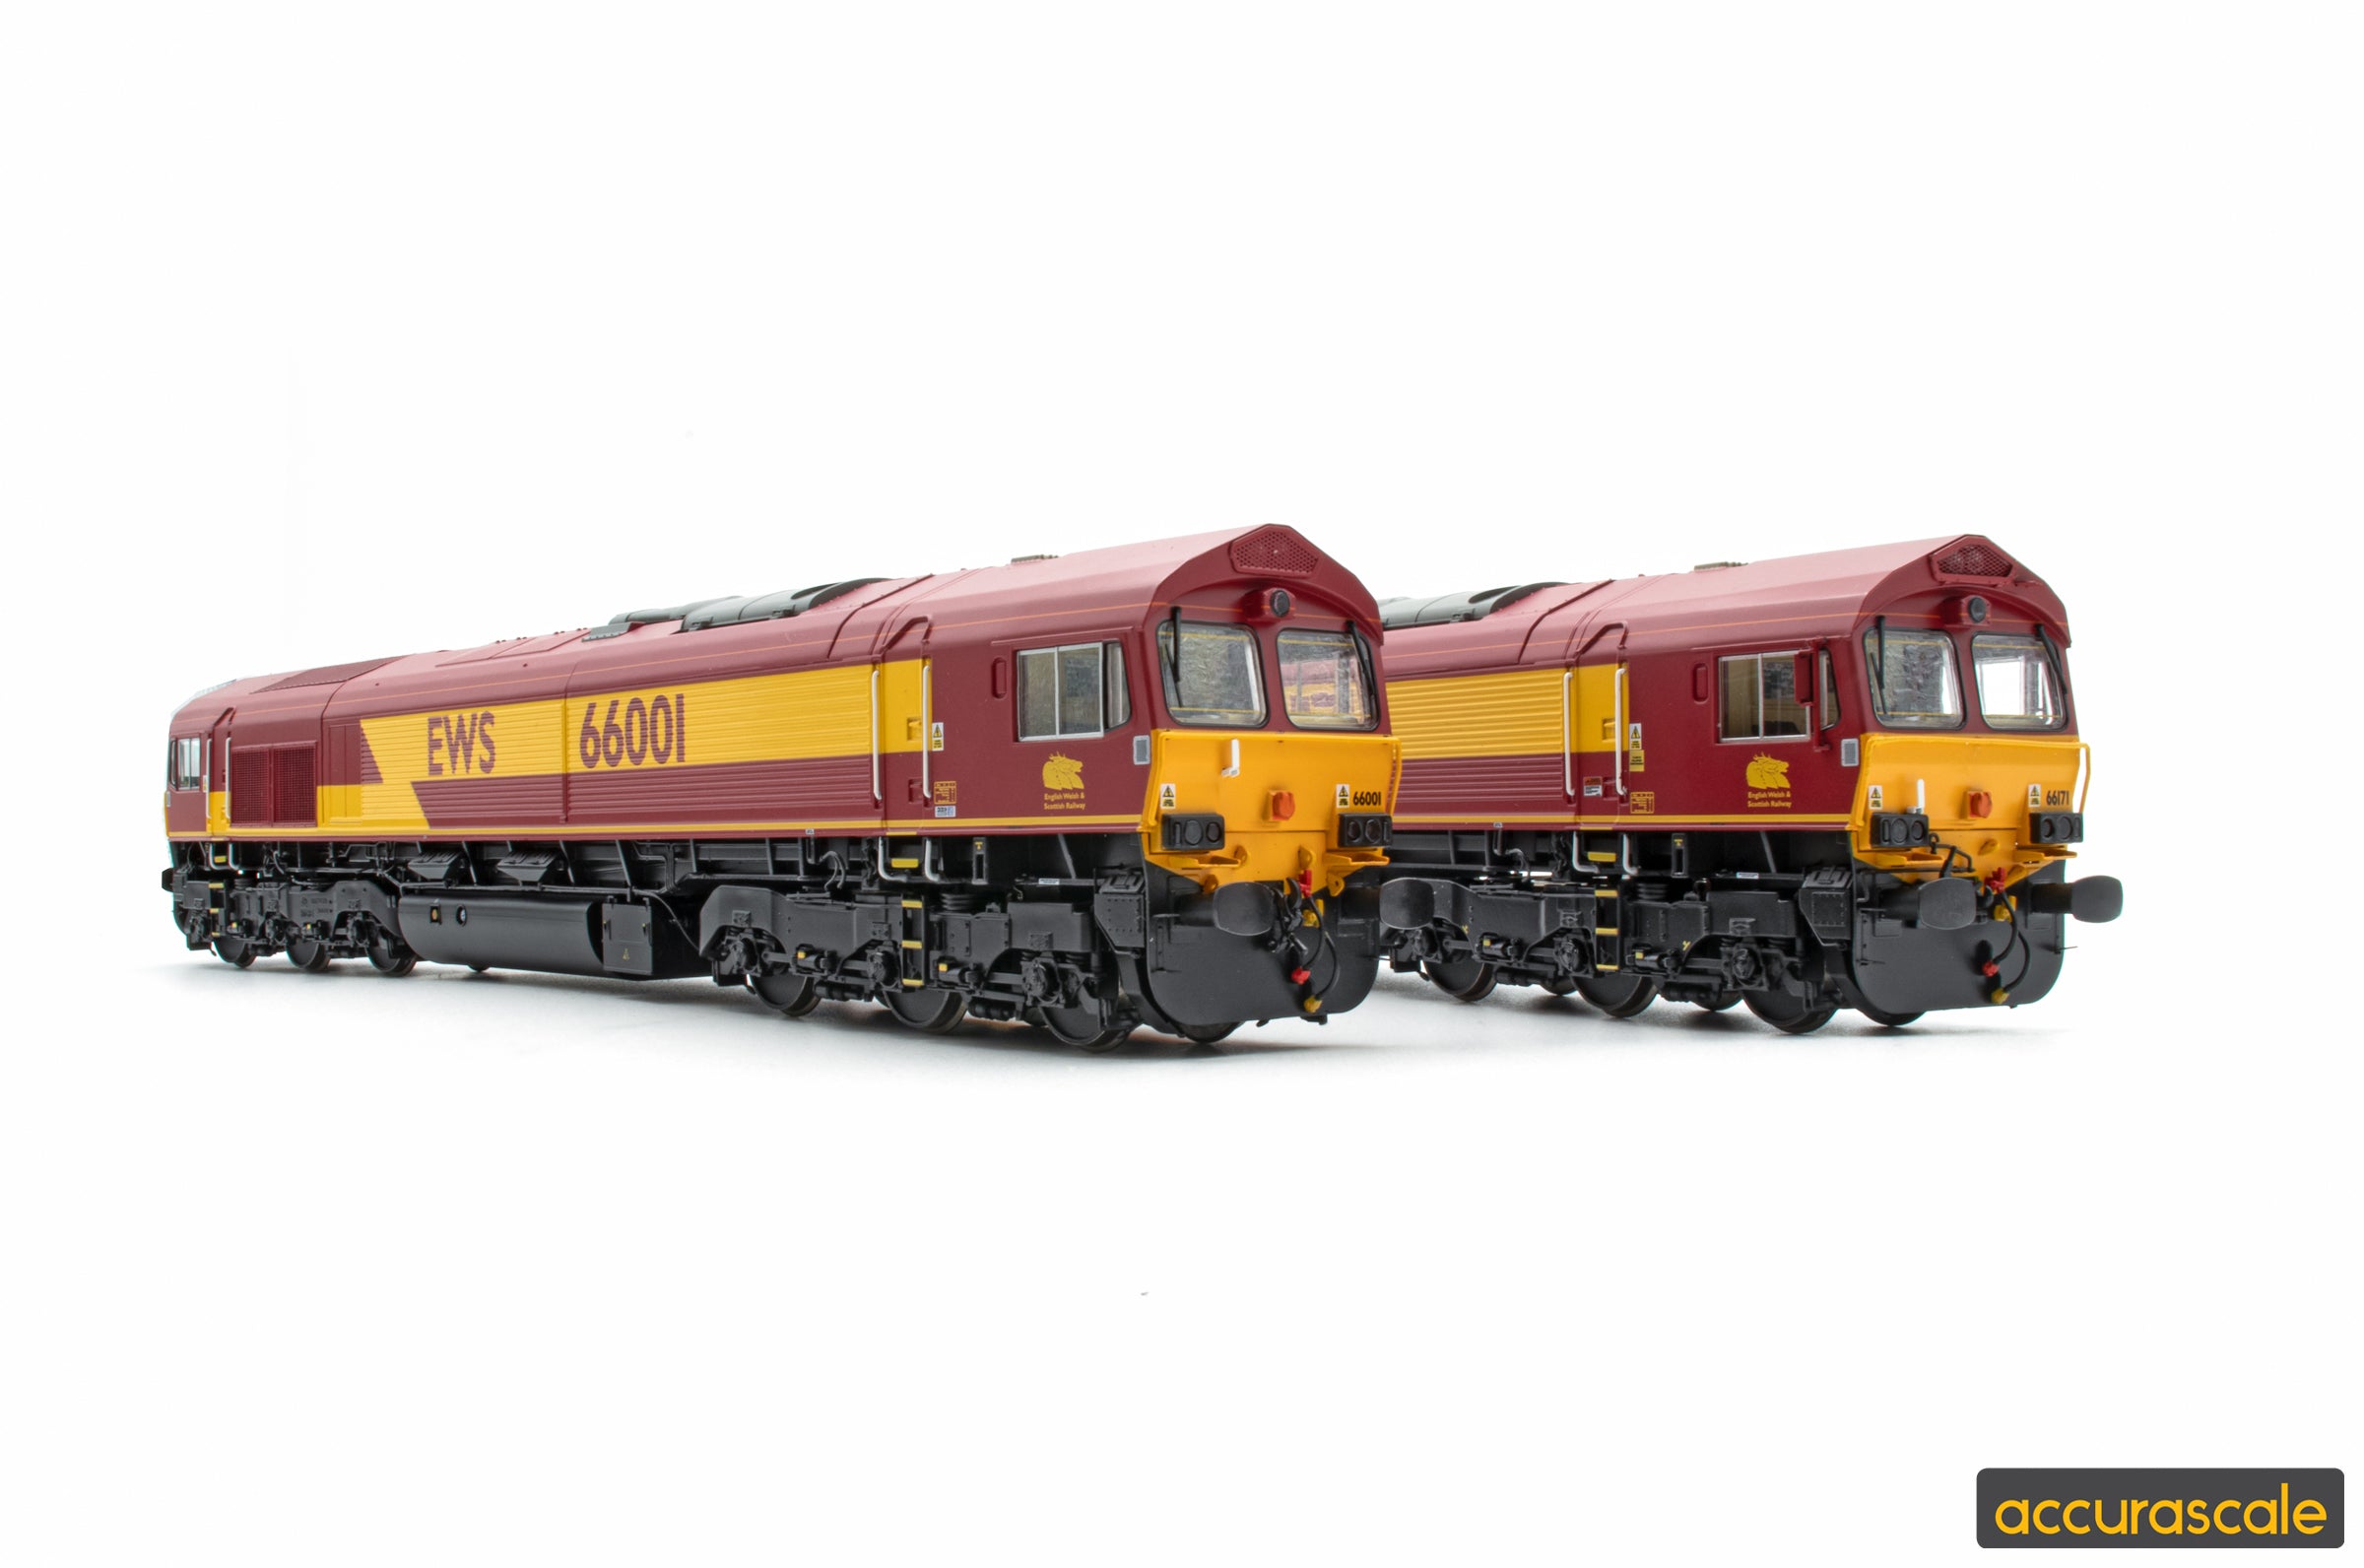
Want to take your new Accurascale Class 66 to a whole new level of realism or functionality?
Using the guide below we'll show you how easy and quick it is to change the front valance on your locomotive. In this guide we're going to swap out the factory fitted with NEM Socket option to the fully detailed version supplied in the accessory bag, and all you'll need is a small screwdriver.
Step one: Unclip the body from the four positions shown.
Step two: Locate and unscrew the two Bufferbeam holding screws.
Step three: Using a Flathead screwdriver, gently press to release the NEM socket from the chassis. 
Step four: Select your pre-detailed Bufferbeam from the accessory bag. 
Step five: Screw back into place.
Step six: Replace the body. 
Now your locomotive is complete and ready to be put to work on your layout.
Browse our full range of Class 66s right here: https://www.accurascale.com/collections/class-66


